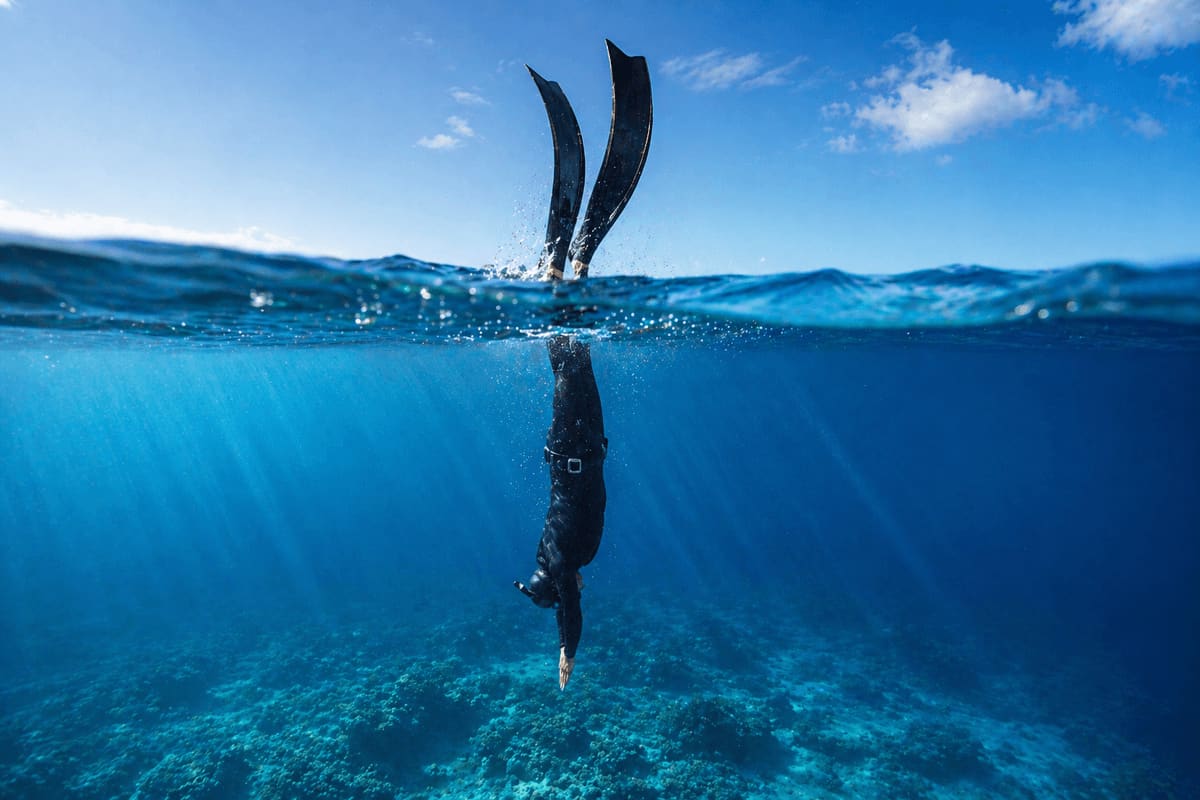

Safety First
A lanyard keeps you connected to the line, but it does not keep you conscious. It only works as part of a system that includes a trained safety diver, a rigged buoy, and a bottom weight heavy enough to be pulled.
What a Freediving Lanyard Actually Does
A freediving lanyard is a short, strong leash that connects the diver to the descent line. One end wraps the wrist or ankle. The other end rides on the rope, usually through a carabiner or a sliding sleeve that slips down as you descend and back up as you rise. For the whole dive you are physically tied to the line.
The reason is blunt. A freediver who blacks out at depth stops swimming. Without a connection to the line, that diver becomes a body in open water, drifting with current, invisible from the surface, in water that might be a hundred metres deep. With a lanyard, the diver is still on the rope, and the rope can be hauled. That is the entire logic. It converts an unfindable diver into a recoverable one.
The second job is smaller but real. Deep dives happen in low light, sometimes with a thermocline blurring everything, and it is genuinely possible to lose the line by a metre and never find it again. The lanyard keeps you oriented even when your eyes are useless. If you want a sense of the depths where this stops being theoretical, our guide to how deep humans can freedive covers the range where line diving becomes the only sensible way to train.
When You Need One and When You Do Not
Lanyards belong to line diving. If there is a vertical rope with a bottom weight and you are diving down it, wear one. That covers depth training sessions, coached deep dives, and every sanctioned depth competition. Most freediving schools treat it as non negotiable and will stop a session if a student tries to dive the line without one.
Recreational reef diving is the opposite case. On a shallow reef, in a kelp forest, or spearfishing, there is nothing to attach to, and a dangling metre of cord is a snag hazard around rock, coral, and kelp stipes. Nobody wears a lanyard for that. The safeguard there is a competent buddy working one up one down, which we cover in our guide to the freediving buddy system. A small dive knife or line cutter is worth carrying in that terrain too, because old fishing line and kelp are what divers actually get caught on.
- Depth training on a line
- Required. This is the situation the lanyard was designed for.
- AIDA or CMAS depth competition
- Required by rule in constant weight, free immersion, and variable weight disciplines.
- Deep dives in current or poor visibility
- Strongly recommended even in casual training, because losing the line is more likely, not less.
- Reef, wreck, or kelp diving
- Not used. There is no line to attach to and entanglement risk goes up.
- Spearfishing
- Not used. A lanyard plus a shooting line is a bad combination.
- Pool training
- Not used. Static and dynamic disciplines have no descent line.
The discipline you are training shapes the answer too. Depth disciplines all run on a line, while pool disciplines have nothing to clip to, and our breakdown of the freediving disciplines explains which is which if you are new to the categories.
The Parts, Explained
Every lanyard is the same four things in some arrangement. Understanding what each part does makes it much easier to judge a product listing, because manufacturers describe them inconsistently and the differences that matter are not always the ones highlighted.
The cuff
This is the band that goes around your wrist or ankle. Good ones are wide, soft on the inside, and adjustable with a hook and loop closure so they cinch over a wetsuit sleeve without cutting circulation. A cuff that is too narrow digs in under load, and a cuff that only fits bare skin will be useless the day you dive in a 5mm suit.
The line
The load bearing element between cuff and line attachment. It is usually dyneema, sometimes a plastic coated steel cable. It has to be able to lift a fully weighted diver against water resistance without stretching much or snapping.
The swivel
A small rotating joint, normally near the carabiner end. It sounds like a detail and it is not. A freediver on a line rotates constantly, especially during the turn at the bottom plate and while equalizing on the way down. Without a swivel the lanyard twists into a shortening, stiffening spiral. Some lanyards use two swivels, one at each end, which is better.
The line attachment
The part that actually grips the rope: a large carabiner, a bearing sleeve, or a purpose made ring. It needs a wide enough gate or bore to run freely over the rope, over any tape marks, and past a bottom plate connection without hanging up. Cheap gates jam, and a jammed lanyard mid ascent is a genuine emergency.
The release
The mechanism that lets you get out. On simple lanyards it is the hook and loop cuff itself. On better ones it is a dedicated pin or shackle you can pull one handed while the line is loaded. This gets its own section below because it is the part people think about least and need most.
Wrist Versus Ankle Mounting
Both mountings are in use, and the argument between them is older than most current gear. The honest summary is that wrist wins for most divers most of the time, but ankle has real advantages that are not just tradition.
The deciding argument is the release. If a lanyard snags on a bottom plate or wraps a fin, you need to remove it quickly, and you need to do that with lungs at residual volume, cold hands, and possibly a strong urge to breathe. Doing it at your wrist is a one handed movement you can rehearse. Doing it at your ankle means folding your body in half against buoyancy and a compressed suit. That is why wrist has become the default in most schools.
Length: Why One Metre Is the Standard
Roughly one metre from cuff to line attachment is the accepted working length, with most divers running somewhere in the 0.8-1.2m band. It is a compromise, and both ends of the compromise have teeth.
Too short and you are pinned to the rope. You cannot rotate properly at the bottom plate, the carabiner scrapes your forearm the whole ascent, and any small correction to your line position becomes a fight. Divers who trim a lanyard down to half a metre usually end up fighting the rope for the entire dive.
Too long is the dangerous direction. A two metre lanyard gives you two metres of slack that has to go somewhere, and in the water it goes into loops. Loops find necks, fin blades, and the hardware at the bottom plate. A long lanyard also defeats its own purpose: an unconscious diver on a long leash can drift far enough off the line that hauling the rope drags them sideways through the water instead of straight up, which slows recovery at the exact moment speed matters.
Measure the length as the total distance from where it sits on your wrist to the attachment point, not the length of cord before it is spliced. A metre of raw cord becomes seventy centimetres of usable lanyard once terminations are made, and people are frequently surprised by this.
Quick Release and Why Detaching Under Load Matters
The lanyard exists because being attached to the line is usually safer. The quick release exists because sometimes it is not. Both statements are true at the same time, and the release is how you switch between them.
The scenario people underestimate is the bottom plate. At turnaround you rotate, often blind, often in the least comfortable second of the dive, next to a metal plate with a bottom weight, a depth alarm, and possibly a tag lanyard hanging off it. If your carabiner catches on that hardware, you are now tethered to the deepest point of the dive with no gas and a body that wants to go up. Nothing else in your kit solves that problem. The release does.
The second scenario is entanglement in the rope itself, which happens when slack forms during a slow descent or a botched turn. Third is a jammed sleeve on the ascent. In all three the fix is the same: get off the line, then continue up. Your safety diver handles the rest, and our overview of freediving rescue technique covers what should be happening on the surface while that unfolds.
- One handed operation, because the other hand may be occupied or unusable
- Works while loaded, meaning it opens with your body weight pulling on it
- Findable by feel, since you will not be looking at it
- Will not open accidentally under normal diving loads or when brushed
- Positioned at the cuff rather than at the far end, so you can reach it
Materials: Dyneema, Steel, and How They Fail
The core of the lanyard is the part that has to hold a human being. Two material families dominate, and they fail in completely different ways, which is what determines how you inspect them.
Dyneema and other UHMWPE cords
Extremely strong for its diameter, light, flexible, and it does not rust. A 4mm dyneema cord has breaking strength far above anything a diver on a rope will generate. It is the modern default and it is what most quality lanyards use.
It fails by abrasion and by heat. Running over a rough carabiner or a burred sleeve slowly fuzzes the sheath, then thins the core. Cut strands do not announce themselves the way a metal break does. UV exposure degrades it too, which is why leaving gear baking on a boat deck between sessions shortens its life more than the diving does. Dyneema also creeps slightly under sustained load, so a well used lanyard can be measurably longer than it started.
Plastic coated steel cable
Stiffer, heavier, and much more resistant to abrasion and cutting. The stiffness is actually a feature here, because a cable that holds a slight curve is less inclined to collapse into loops than a limp cord. Some competitive divers prefer it for exactly this reason.
It fails by corrosion and fatigue, and it usually does so under the plastic coating where you cannot see it. Repeated flexing at the termination points breaks individual strands. A kink permanently damages the cable even if it looks fine once straightened. Rust bleeding through the coating or a bulge near a swage means it is finished, no discussion.
What AIDA and CMAS Expect
Both major governing bodies mandate lanyards for depth competition, and the requirements exist to serve one principle: if a diver stops responding, the organizers must be able to bring that diver to the surface by pulling the rope, quickly and without a search.
- The lanyard must be strong enough to lift a diver plus their weights against water resistance
- It must include a swivel so it cannot wind up during the dive
- It must attach to the competition line in a way that runs freely and does not jam
- The diver must be able to detach from it, so a quick release of some kind is expected
- Length is limited, with roughly one metre being the accepted figure
- Judges may inspect a lanyard before a dive and can refuse a worn or improvised one
Do not treat that list as the rulebook. Wording, tested loads, and inspection procedure vary between AIDA and CMAS and between editions of their rules, and organizers add local requirements on top. If you are entering an event, read the current rules for that event and check your gear against them, or ask the safety officer at registration. Turning up with a lanyard that gets rejected on the platform is a bad morning.
The same principle applies to the rest of the setup, since a lanyard is only as useful as the line it hangs on. A properly rigged and tensioned line hanging from a solid buoy is part of the same system, which is why our guide to choosing a freediving buoy matters more than it might appear.
How to Attach to the Line, Step by Step
This takes twenty seconds and it should be the same twenty seconds every time. Do it at the buoy, in front of your buddy, before your breathe up, not during it.
- 01 —Inspect first. Run the full length of the lanyard through your fingers, look at both terminations, spin the swivel, and open and close the release once.
- 02 —Fit the cuff over your wetsuit sleeve, not under it. Snug enough that it will not slide over your hand, loose enough that you can slip a finger under it.
- 03 —Check the release is positioned where you can reach it with your free hand, and that the cord is not crossed over itself before you clip in.
- 04 —Open the carabiner or sleeve and place it on the descent line, on the correct side of any tape marks or the top of the counterweight rig.
- 05 —Close the gate fully and confirm it is locked. Look at it. A gate that feels closed and is not is a common failure.
- 06 —Slide the attachment up and down half a metre to confirm it runs freely over the rope with no catching.
- 07 —Have your buddy check it. A second pair of eyes on the gate and the cuff takes three seconds and catches the mistakes you are blind to.
- 08 —Keep the lanyard on the same side throughout your breathe up so it cannot wrap across your body when you duck dive.
For divers still assembling a first depth setup, the lanyard sits alongside a low volume mask, a proper suit, and a decent set of long fins. Our guide to beginner freediving gear covers what to buy before you get to this stage.
Inspection and When to Retire One
Lanyards are cheap relative to what they do, and there is no scenario where stretching one for an extra season makes sense. Check it before every session, wash it after every session, and replace it without sentiment.
Before every session
- Run the whole length through your fingers feeling for flat spots, fuzz, or stiffness
- Look closely at both terminations, since splices and swages fail before the middle does
- Spin the swivel and confirm it turns freely with no grit or grinding
- Open and close the carabiner gate several times and check the locking mechanism engages
- Operate the quick release once and confirm it moves smoothly
- Check the cuff closure still grips firmly and the hook and loop is not clogged with sand
After every session
Rinse in fresh water, work the swivel and the gate under running water to flush salt out of the moving parts, then dry it in the shade. Salt crystallizing inside a swivel is the single most common reason a lanyard stops rotating, and sun is what kills the cord. Storing it in a sealed bag while damp is its own problem, so let it dry fully first.
Retire it when
- The core is visible through the sheath anywhere along the cord
- A steel cable has a broken strand, a kink, or rust bleeding through the coating
- The swivel binds, grinds, or will not turn under light load
- The carabiner gate sticks, does not lock, or has visible wear grooves
- The quick release needs force, two hands, or a specific angle to operate
- You cannot remember how old it is, which by itself is a good enough reason
Common Mistakes
Most lanyard problems are setup errors rather than equipment failures. These are the ones that show up repeatedly on training lines, along with what actually goes wrong and how to fix it.
The last row is the one worth sitting with. A lanyard makes a blacked out diver recoverable, but recovery still needs a person who noticed, a plan, and hands on the rope. Understanding why blackout happens in the first place is part of the same picture, which our article on shallow water blackout gets into in detail.
What to Look For When Buying
Lanyards are a small market with a lot of near identical products, so judge them on construction rather than branding. Work through this list against any listing you are considering, and treat any missing information as a reason to ask the seller rather than to assume.
- A genuine quick release you can operate one handed, not just a hook and loop cuff
- At least one swivel, ideally at the carabiner end, sealed or easily flushable
- A cuff wide enough to spread load and long enough to close over a 5mm sleeve
- Overall length around one metre once terminated, stated by the maker rather than estimated
- A stainless carabiner or sleeve with a gate wide enough for a 10-12mm descent line
- Clean terminations: neat splices in dyneema, properly finished swages in steel
- A stated breaking strength for the cord, with clear material identification
- Corrosion resistant hardware throughout, including pins and rivets you cannot see
- Replaceable parts, so a worn cuff or gate does not mean binning the whole thing
One last piece of judgement. If a lanyard is dramatically cheaper than everything else on the market, the saving almost always came out of the swivel, the release mechanism, or the hardware plating, which are exactly the three components that decide whether it works on the day something goes wrong. This is a piece of equipment whose whole purpose is the worst dive of your life. Spend accordingly, inspect it often, and replace it before you have to think hard about whether you should.